For the last few years my I have been using ZSH and Powerlevel10K on my Ubuntu. Recently I have moved to macOS and the first thing I have done installing powerlevel10K. ZSH comes pre-installed on my Big Sur ( also with macOS Monterey ). Since I started to know about the aestheticism of Linux, Fish Shell has been my favorite. Then how have I moved to ZSH? Maybe, Hasin Hayder Bhai had posted something about iterm and zsh, then I searched and immediately moved into ZSH.
Let’s Install iTerm2, ZSH, and Oh My ZSH with PowerLevel10K Theme.
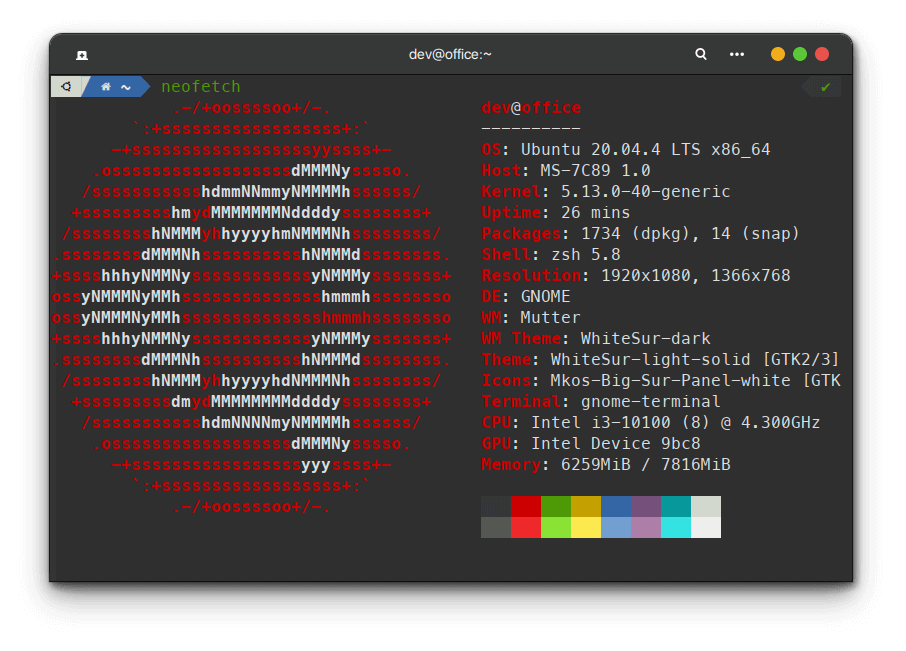
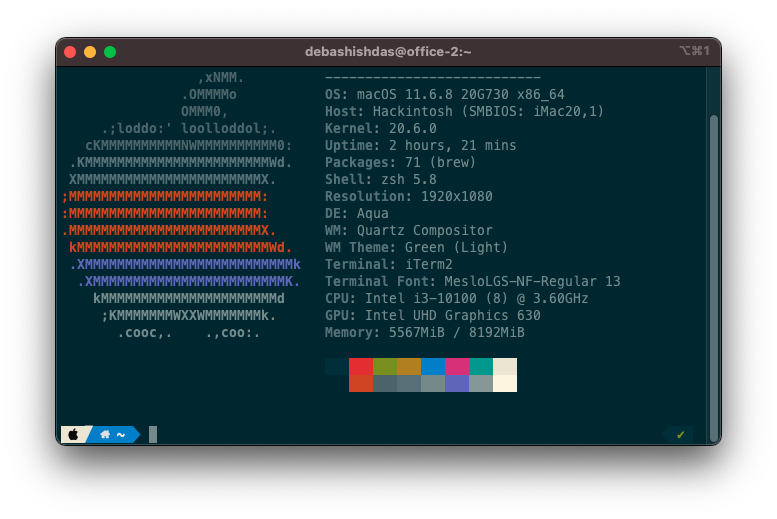
Before start, lets see how will your terminal looks like after finishing everything.

A Simple note: If you are a Linux user, you can’t install iTerm2. But you can install ZSH and Oh My ZSH with PowerLavel10K theme.
So Let’s Get Started! I will tell step-by-step procedure to install ZSH on macos.

Step 1: Downloading the Iterm2
Download Iterm2 from the official website. The official Iterm2 website is https://iterm2.com/ . Download the latest version from there. You will find a ZIP file. Unzip It by clicking on it. You will find the iTerm2 App. Move the app into application folder, so that you can access it easily. I will keep pin on my doc.
Step 2: Make The iTerm2 Default Terminal on MacOS.
Open Iterm2 from the application. You can find all your application by pressing F4 or clicking on the launchpad.
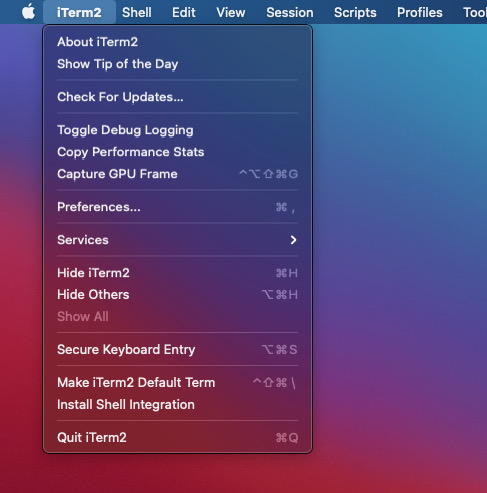
Click on iTerm2 on the menubar and select Make Iterm2 Default Term. If you want, you can also integrate iTerm2 Sell, By Clicking Install Shell Integration.
Step 3: Install ZSH on MacOS
By default macOS comes with ZSH install. Incase you want to reinstall it, run this command.
brew install zsh
You can check the installed version by running the command
zsh --version
Now lets move to next step.
Step 4: Install OhMyZSH on macOS
Now we will download Oh My ZSH from github to install it. Run this code to download.
sh -c "$(curl -fsSL https://raw.github.com/ohmyzsh/ohmyzsh/master/tools/install.sh)"
It will clone the repo. After cloning you will see something like this.
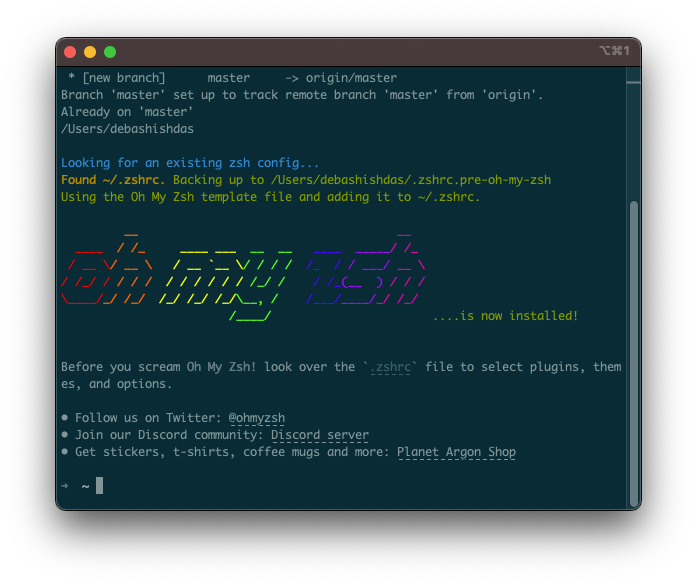
If you don’t see this, we may need to run the previous command again. Make sure you have an active internet connection.
Step 5: Install Oh My ZSH Plugin for better productivity
Now, we will install some plugin for OhMyZSH. Those are git, wd, zsh-autosuggestions, zsh-syntax-highlighting, Before installing those, we need to clone their github repo. Run those two command .
git clone https://github.com/zsh-users/zsh-syntax-highlighting.git ${ZSH_CUSTOM:-~/.oh-my-zsh/custom}/plugins/zsh-syntax-highlighting

git clone https://github.com/zsh-users/zsh-autosuggestions ${ZSH_CUSTOM:-~/.oh-my-zsh/custom}/plugins/zsh-autosuggestions
Now, we need to specify those plugin in .zshrc file. To do that, we can simply using any terminal based file editor. But I will use GUI Text editor to make it easier for you.
Open your home directory by pressing SHIFT + Command + H from your desktop screen. Now unhide the hidden files using Command + Shift + .(dot) .
Now you will find .zshrc file, which is kinda faded. Open the file using text editor. It will look like this
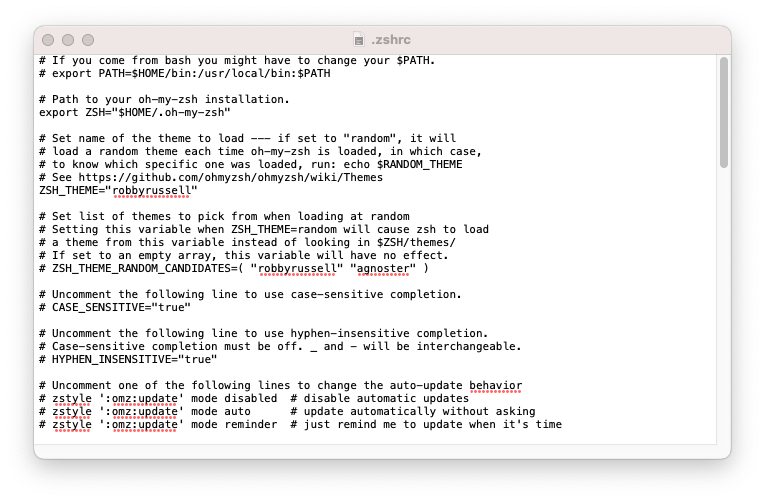
Find the line plugins=(git) . Replace it with plugins=(git wd zsh-autosuggestions zsh-syntax-highlighting) .Now save it pressing command + S. Dont close the text editor yet, we will need it.
Run this command on iterm2 so that it can reload the configuration .
source ~/.zshrc
Step 6: Install PowerLavel10K Theme on Oh My ZSH.
Now it’s time to make our terminal better. Run this command to download PowerLavel10K theme.
git clone --depth=1 https://github.com/romkatv/powerlevel10k.git ${ZSH_CUSTOM:-$HOME/.oh-my-zsh/custom}/themes/powerlevel10k
Now replace the the line bellow
ZSH_THEME=”robbyrussell”
with
ZSH_THEME=”powerlevel10k/powerlevel10k”
in .zshrc file, which is already open in the text editor from step 5.
Again run the source ~/.zshrc command to reload the changed. You will something like this.
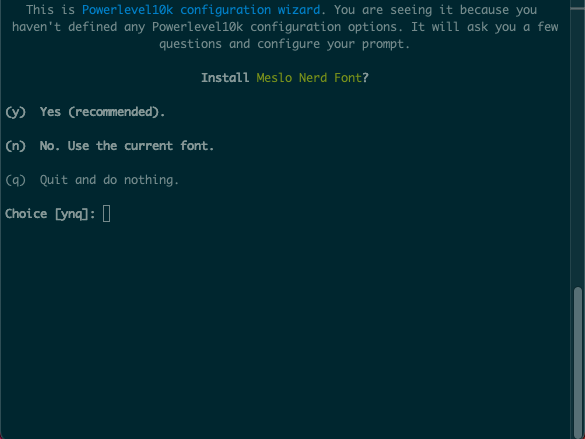
Select YES. It will download the Meslo NF fonts. Those fonts are necessary.
After downloading, press command + Q ( ⌘ Q) to quit iterm2. Dont just close Iterm2 by clicking the close button.
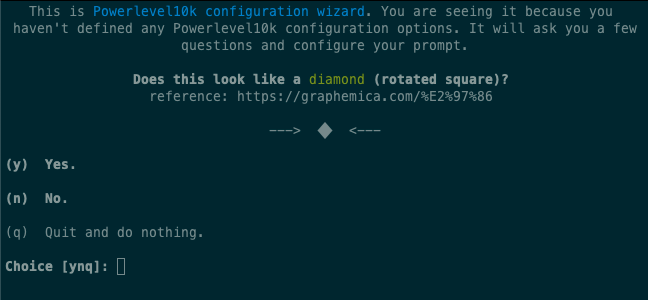
Now you will see the PowerLavel10K config options. Chose options as your preference.
Done! You have successfully installed iTerm2 ZSH, Oh My ZSH and PowerLavel10K themes with plugin on your macos.
 What can we do with Markdown